Showing posts with label Sewing. Show all posts

Sunday, December 23, 2012

New Stockings!

In keeping with the red, white and modern theme that some how evolved with our Christmas decor this year, I decided to make some new stockings for our mantle.  Here are the stockings we had before:


And here are the new ones I made:


I had originally planned to make 4 black and white striped stockings with felt tops, but I didn't have enough black and white striped fabric on hand.  Instead, I went and pulled out a bunch of  black and white fabrics from my fabric stash and let each family member choose one for their stocking.  Charm chose the dog fabric, Lucky liked the polka dots, Bill chose the striped fabric, and I picked out a floral fabric.  I picked up four packs of red piping and used close to 1 pack per stocking so the project cost about $8 total.  I should note that it is pretty easy to pick up stockings for $3 or so right now at stores like Menards...so this wasn't really a big cost saver:).  It was just one of those projects that I wanted to try.  Piping the felt 'fold down' part of Charm and Bill's stockings was a bit tricky to figure out, but I eventually got it after using our original green stockings as a guide.  Our new stockings are not perfect by any means, but they are homemade, and that's always nice:).

Here is a quick picture of Charm's pinned stocking, which was the first one I made:


I should also note, that my floral stocking was quickly replaced when I unwrapped this huge-normous red dollar store stocking from Lucky.  Apparently, she doesn't want Santa to skip me:).  I completely love it!


 How funny is this?:

Merry Christmas!!

Friday, December 21, 2012

Festive Red Pom Pom Curtains

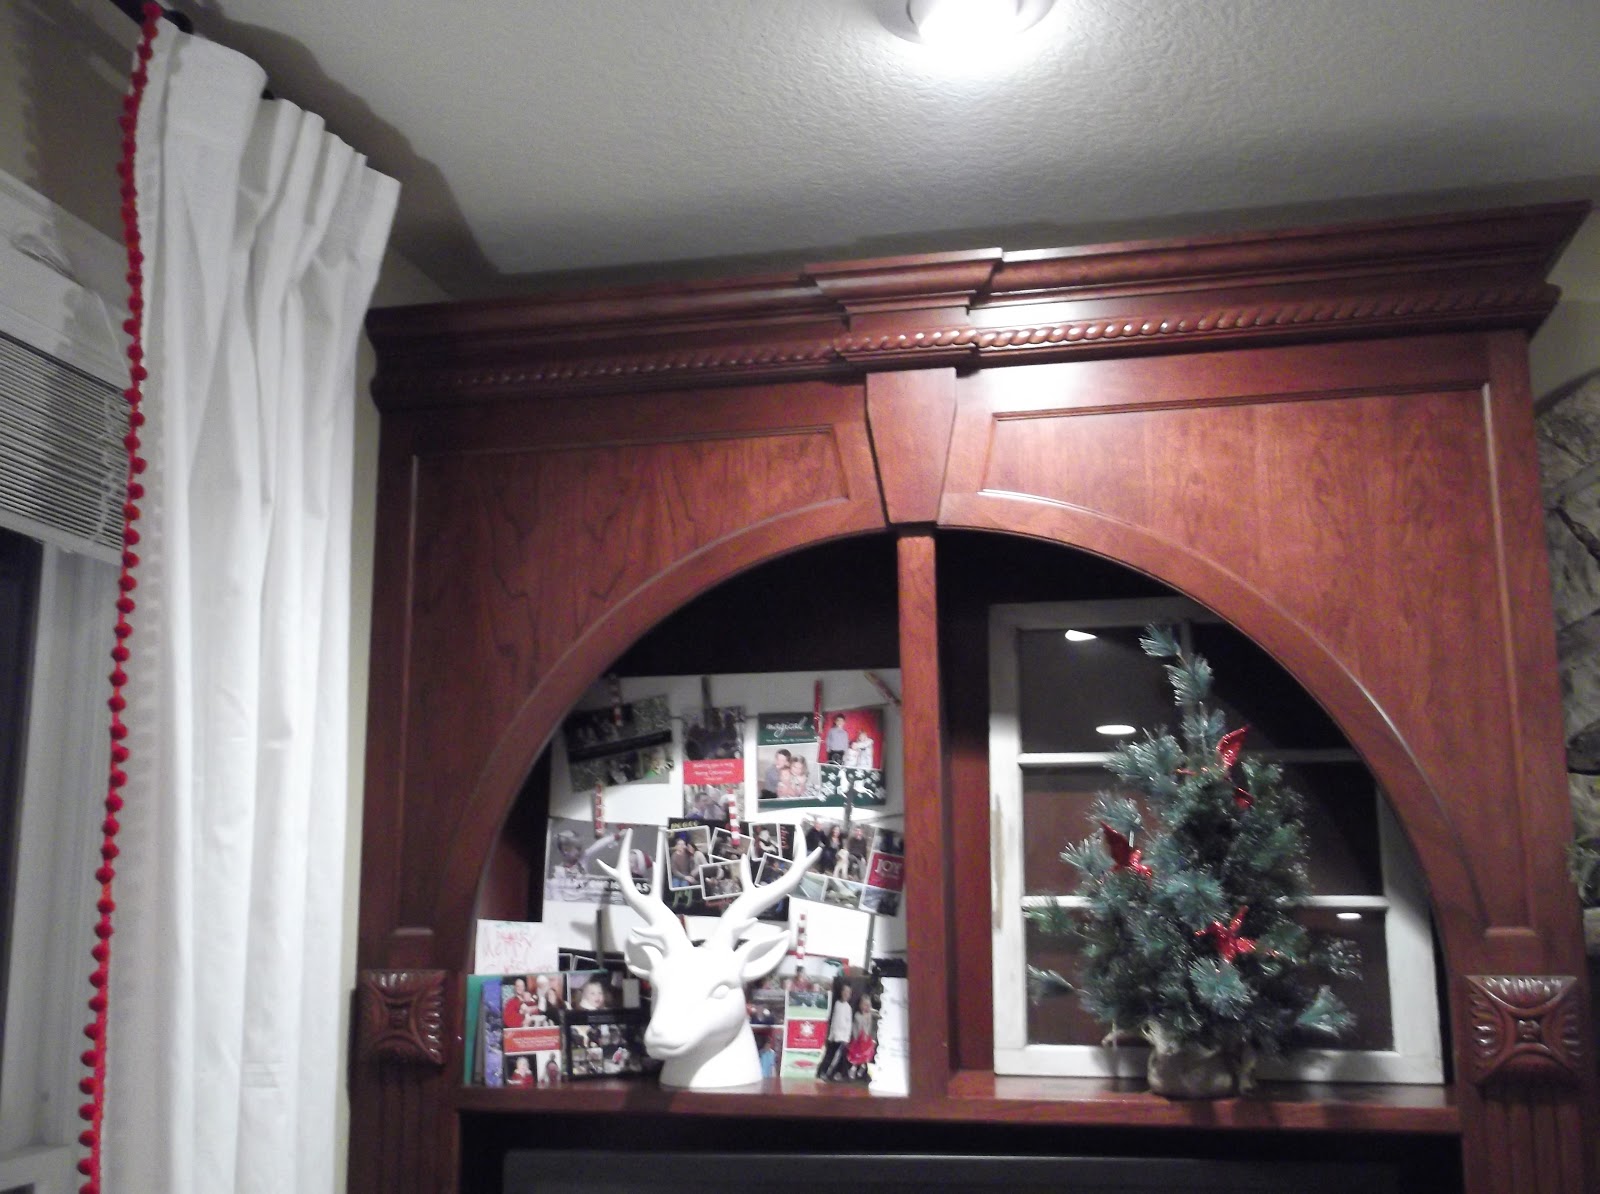
I wasn't loving how our blue ikat curtains were looking with all the Christmas decorations in our great room.  See what I mean:


So I decided to make a curtain change.  I gathered my materials...a pair of Ritva curtain panels from IKEA, some red sewing thread and several yards of red pom pom trim.

I pinned the trim to the edge of the curtain, and then sewed a straight line.  It was in the words of Lucky, 'easy peasy pumpkin easy'.  I also took the extra 10 minutes to hem the curtains to the appropriate length.  There are many curtain panels in our house and the only ones that are actually hemmed and not just safety pinned to the appropriate length are the curtains in the kids rooms, and this pair of panels.  Some day I'll get to the rest of our panels:).


And now for the after:


So much better...and we'll be able to use them for Valentine's Day too!!

Thursday, December 20, 2012

Christmas Deer Pillows

I somehow got it in my head that I wanted to make Christmas deer pillows to add some red to our great room and to go along with our more modern joy sign that I made last year.  Also, my super sweet husband gifted me with one of these guys from Target in November as a little surprise treat, and it was inspiration for my pillow project as well:


So with inspiration and materials in hand, I went to work creating some deer pillows.  The first step was finding a deer image online that I could reproduce by hand.  I measured my pillows and determined how big I wanted my deer head to be on the pillow, and I used that size as a guide to create a deer template out of poster board.  I only drew half of the deer head, and then I folded the poster board in half and cut out my drawing to get a completely symmetric deer head.  


Here is my deer template:


 The rest was easy and involved pinning the template onto white fleece fabric.  I cut around the template again to create a white fleece deer head that I then ironed on (using the same process as Charm's Anchor Pillow) to a red pillow cover that I sewed using material left over from Charm's birthday party and some white piping.  I used leftover Steam A Seam fusible web to adhere the deer heads to the pillows.


Here are the two pillow covers before the inserts were placed inside and the bottom side was hand sewn shut:


 And here is the after:


Simple and festive!!

Monday, April 2, 2012

Sewing Station Updates!

It wasn't too long ago, that I posted about moving my sewing machine, desk and book shelves to a neglected corner in our basement:

circa February 2012 :)

I have been loving this set up, and in attempt to dig out of our office:


Total Chaos.  Embarrassing.  But it's so much better now, because I moved all my craft supplies that I had been storing in our office to my sewing corner in the basement and added a few fun items, and now my sewing and crafting space looks like this:


I love my newly organized work area!  It has all my sewing AND crafting gear!


Lucky (and napping Charm) LOVE their new work areas.


 I still have a couple things to figure out like a better sewing supply organization system:
Whoa!!

And I'd love a nicer gift wrap storage basket:

Overall though, I am in craft heaven when I'm working in this new space!  Later this week I'll post more details about the canvas pictures, chalkboards and craft jars that I added to the space.

Update: DIY canvas art details can be seen here.  Oil Drip Pan Chalkboards can be seen here.  Colorful craft jars can be seen here.

Linking up to The Rooster and The Hen.
Linking up to Thrifty Decor Chick.

Monday, February 20, 2012

My New Sewing Station

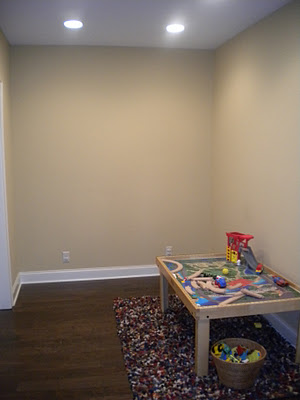
Back in October, I posted about our basement layout and plans we had for making the area a cozy and fun space for our kids.  While this area was originally going to turn into a play area/fort of sorts:


I decided that until we have time to tackle that project, I'm going to use the space as a temporary sewing station:

I used the rug I picked up for $32 on clearance from Target, an IKEA Expedit unit and a desk and chair we already had.  Easy Peasy.  


Now that the kids are a little older, they know to stay away from my sewing machine, so I can leave it out and easily accessible.  I've been sewing on a fairly regular basis as of late, completing two big projects in Charms room that I hope to get pictures taken of soon, so I can share with you how the space is currently looking.  

I just love having an area to dedicate completely to my sewing!!  Has anyone else created a crafting station recently?